Easy DIY instrument crafts to make at home with your kids and enhance their creativity, engagement, and musical skills with this step-by-step guide.
Today, we're diving into the world of music with some fun and easy DIY instruments for kids that you can make at home with your littles. Whether you're a parent looking for a rainy day activity or a teacher seeking a new classroom project, these homemade instruments will bring joy, laughter, and learning to your little musicians. So, let's explore the creative world of homemade music together!
Step By Step Instruments:
Shakers
Let's start with the basics: shakers! First, these simple DIY instruments for kids are perfect for tiny hands and can be made with everyday items you probably already have at home.

What You Need:
- Empty toilet paper rolls
- Dry pasta or rice
- Tape
- (Optional) Paint, stickers, any decor for your shaker!
Instructions:
- Seal one end of the toilet paper roll with tape
- Fill the roll with a small amount of pasta or rice (just enough to make a satisfying shake!)
- Seal the other end
- Let your kiddos decorate the shakers with paint, stickers, or colorful tape
Now, shake away! These shakers are great for keeping rhythm and adding a bit of fun to any song.
Drums
Next up, let's make some drums! An empty coffee can or large oatmeal container is perfect for this music project.
What You Need:
- Empty container (think coffee cans, oatmeal containers, or anything similar)
- A sturdy piece of plastic, like from a grocery bag or some thick paper
Instructions:
- Clean out the container and remove any labels
- Let your kids decorate the can with paint, markers, or stickers
- For the drumhead, you can use a piece of sturdy plastic, like from a grocery bag, or some thick paper. Secure it tightly over the top with a rubber band or tape.
Now you have a drum! Use wooden spoons, hands, or even chopsticks as drumsticks. Encourage your kids to explore different rhythms and beats.
Guitars
Transform an empty tissue box into a mini guitar for your little rock stars!

What You Need:
- Empty tissue box (or something similar)
- Rubber bands
- Empty paper towel roll
Instructions:
- Remove any plastic from the tissue box opening
- Stretch several rubber bands of different thicknesses around the box, over the opening
- For the neck of the guitar, attach the empty paper towel roll to one end of the box with glue or tape
Strum away! Each rubber band will produce a different note, and your kids will love experimenting with the sounds.
Flutes
Create a simple flute using straws to learn about this beautiful wind instrument!
What You Need:
- Several plastic straws
- Tape
Instructions:
- Take several straws and cut them to different lengths
- Line them up from shortest to longest and tape them together side by side
Alternatively, fill glass bottles or jugs with varying amounts of water and have your child blow across the top to produce different notes. This is a great way to introduce them to the concept of pitch witht this simple DIY instruments for kids!
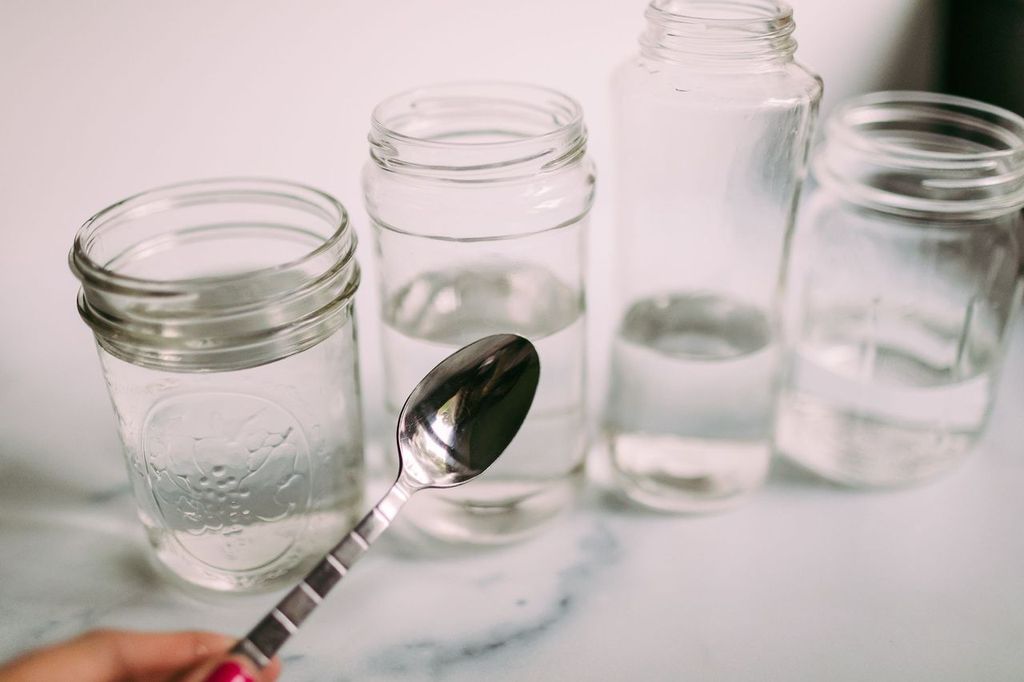
Musical Water Glasses
For more magical sounds, try making music with water glasses.

What You Need:
- A few glasses
- Water
- Spoons
Instructions:
- Fill several glasses with different amounts of water
- Use a spoon to gently tap the glasses and listen to the different pitches each glass produces
This is a wonderful way to teach kids about sound waves and vibrations!
Musical Movements: Clapping Rhythms and Solfege Singing for Kids
Clapping Rhythms
Once your little ones have their instruments, it's time to introduce some musical concepts. First, start with clapping rhythms. Clap out different patterns and have your kids mimic them. This helps them understand timing and rhythm.

Solfege: Do Re Mi
Finally, bring it all together with some singing! First, teach your kids the Do Re Mi scale from "The Sound of Music" and show them the hand signs for each note. Then, sing the scale together and practice the hand signs. This is a fun way to build their musical ear and pitch recognition.
Your Turn!
We hope you and your little ones enjoy making beautiful music together with these simple DIY instruments for kids. Remember, the most important thing is to have fun and let your creativity soar!
For a chance to be featured, use #PlaygroundPressKids to share your musical masterpieces with us on social media! Happy crafting!